Add-On Blinds
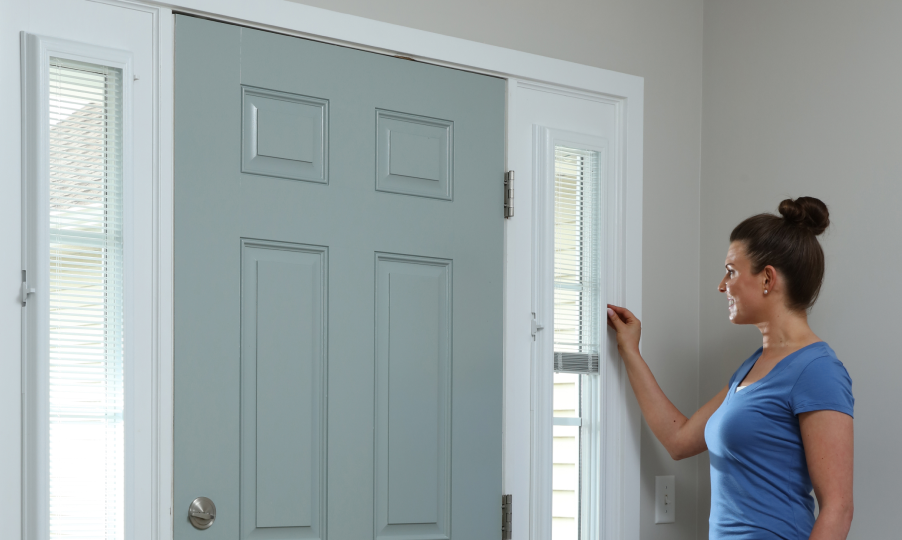
Our doorglass Add-On Blinds are an affordable, easy-to-install way to add light and privacy control that fits right over top of your existing doorglass.

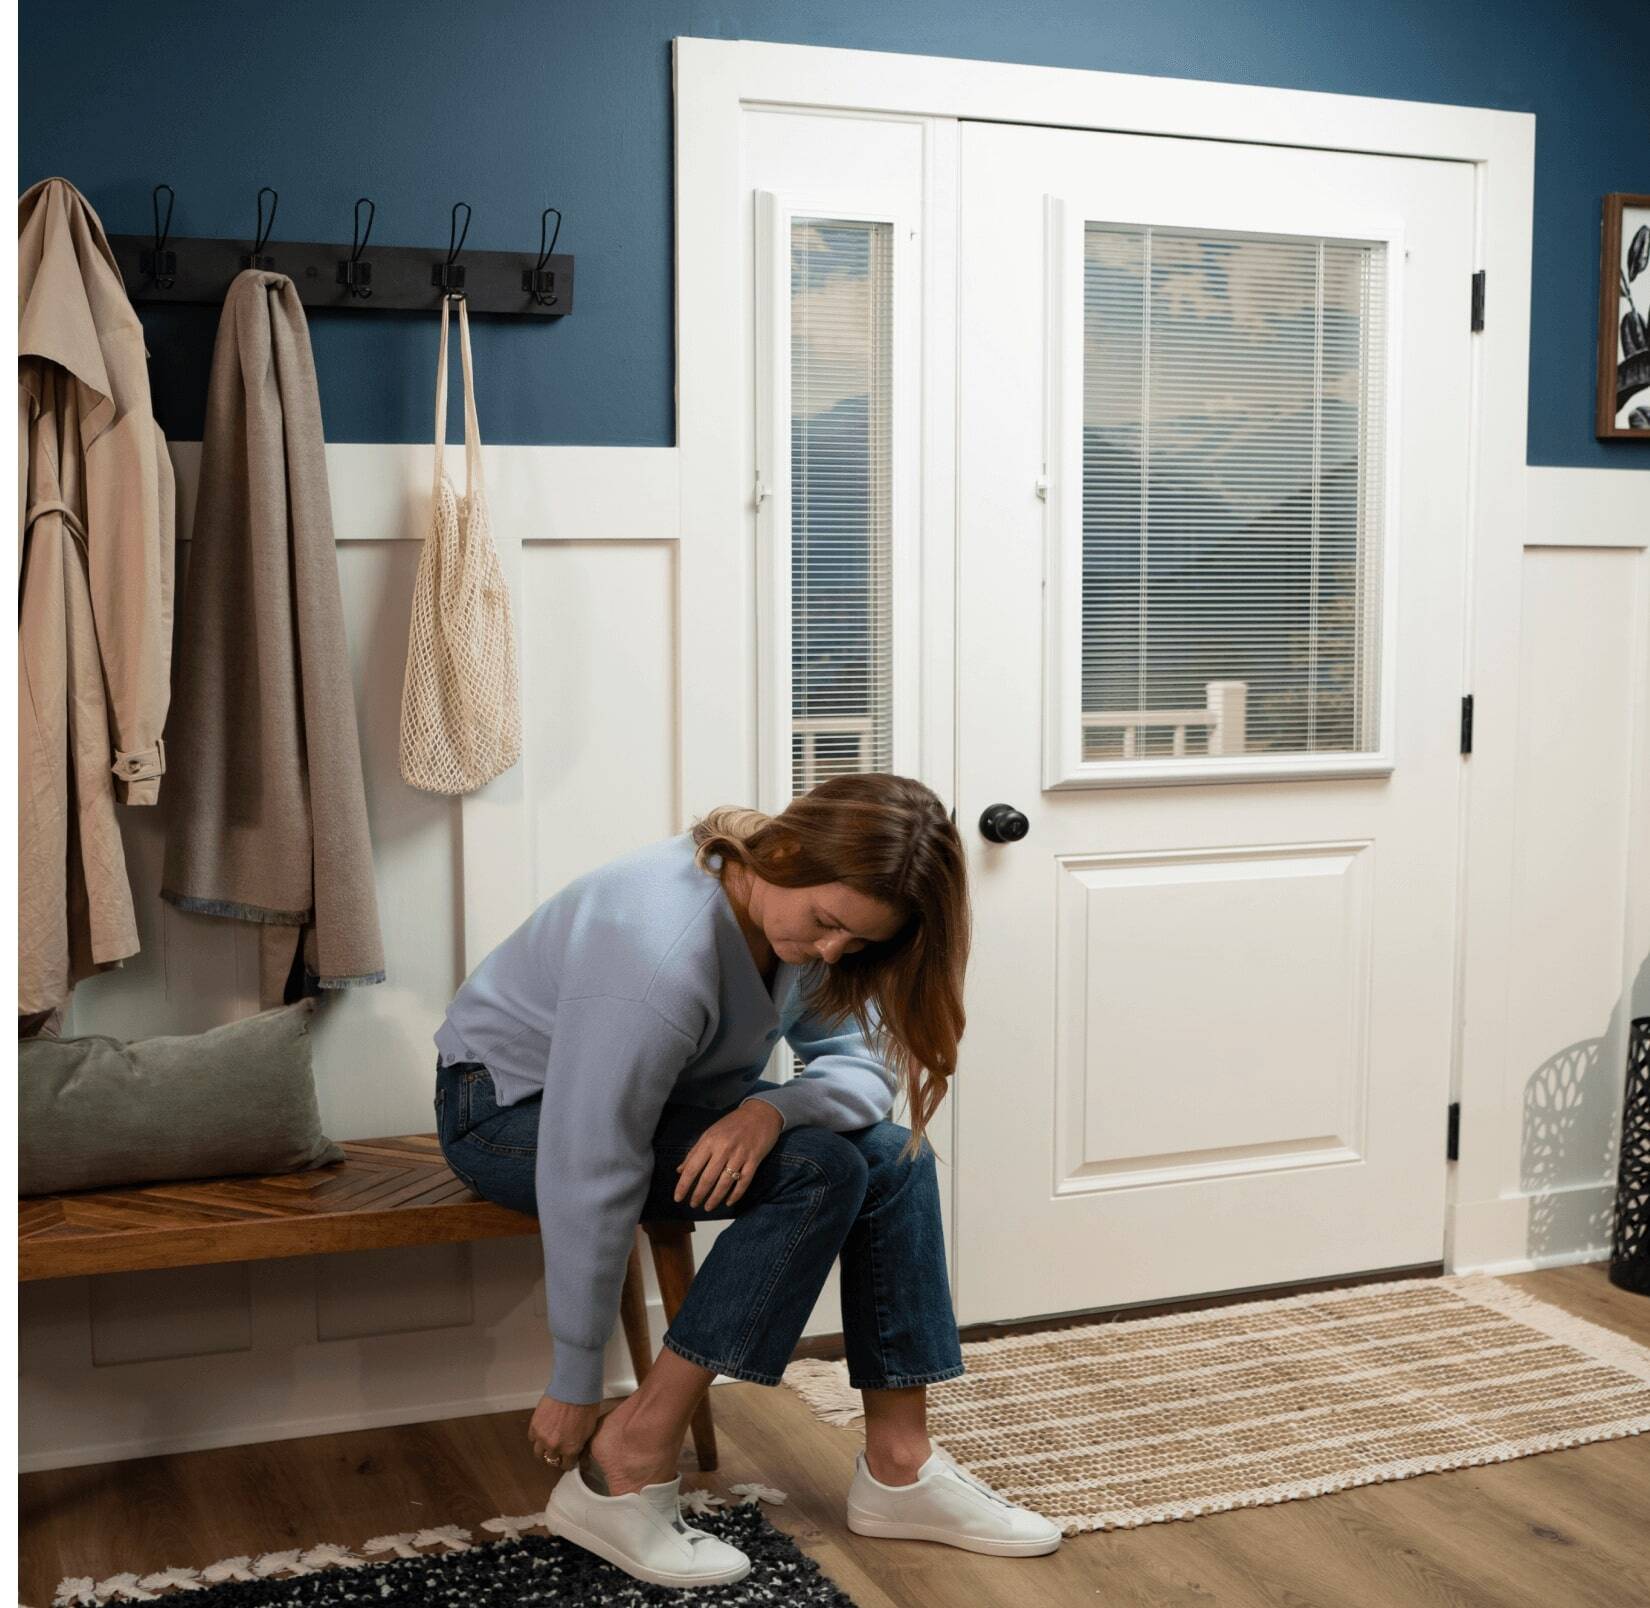
A Welcome Addition to Any Exterior Entry Door
Our Add-On Blinds give you all the benefits of blinds-between-glass by adding a layer of blinds enclosed between your existing doorglass and a pane of tempered safety glass. Once installed, the blinds are protected behind glass and your window treatment is maintenance-free — with no dusting required! With easy fingertip adjustment you have the control to adjust height and tilt with simple smooth sliders.
ODL Add-On Blinds provide the light and privacy control you desire, while eliminating the banging, swinging, and dangling cords of traditional blinds. That means less maintenance, more safety, and heightened style.
Best of all, you can install it yourself!

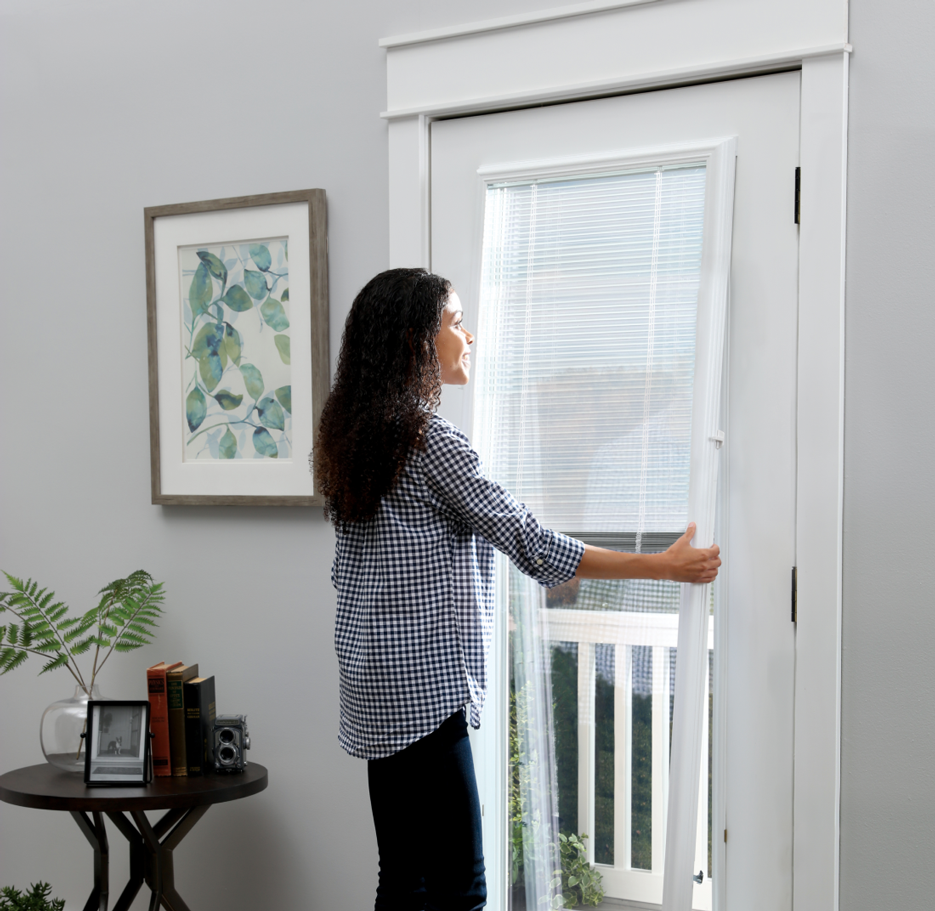
Add-On Blinds for Doors
A premium look and feel at your fingertips, perfect for home DIYers. Add-On Blinds are low maintenance, safe, and energy-efficient.
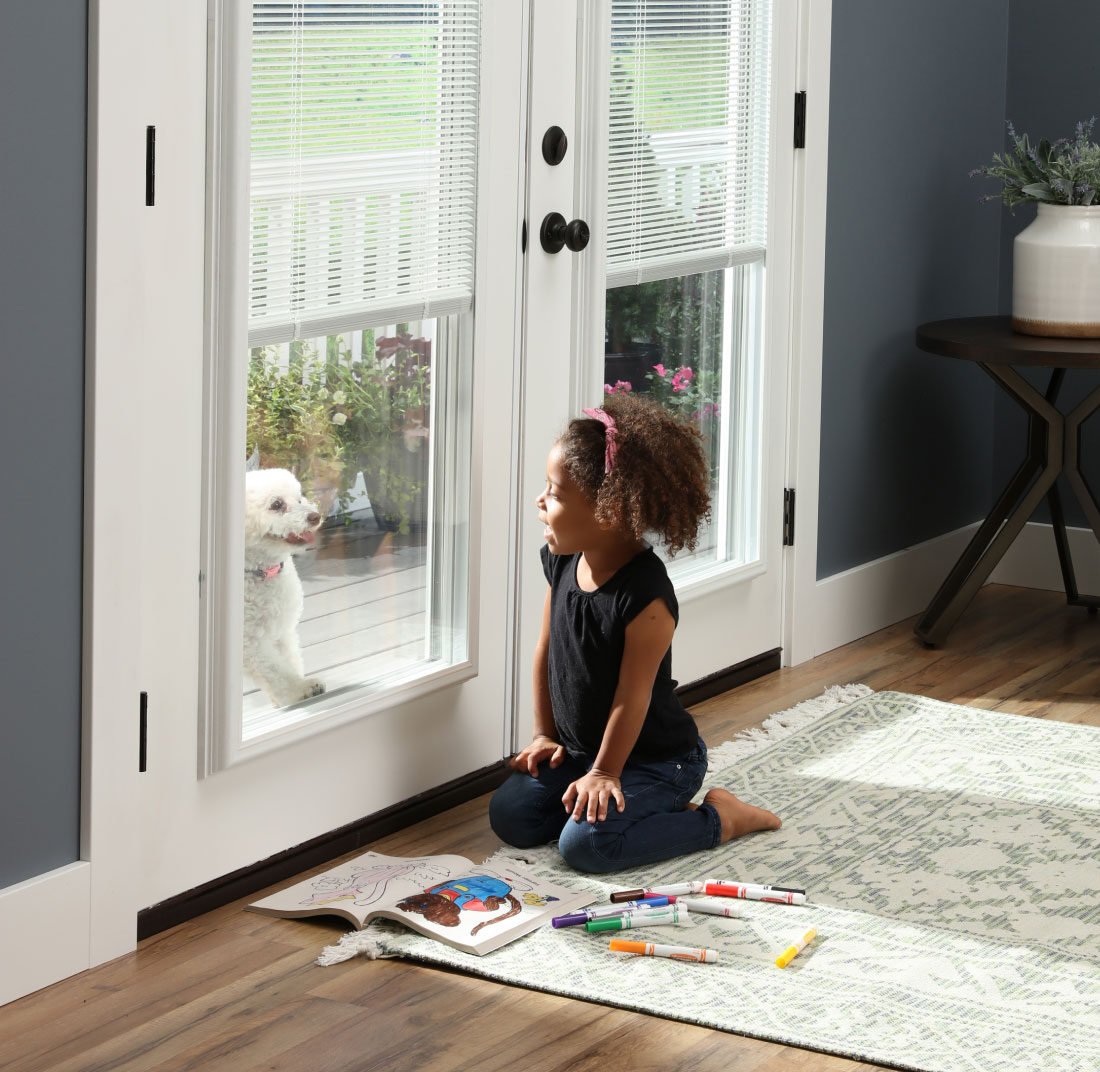
Advanced Privacy and Safety with Add-On Blinds
Our cordless blinds offer maximum safety for children and pets, with external controls to allow the desired level of light and privacy.
This unique light and privacy solution from ODL eliminates the potential danger of dangling cords. ODL Add-On Blinds for Doors have received the Parents for Window Blind Safety (PWBS) Seal of Approval and the Window Covering Manufacturers Association (WCMA) Best for Kids certificate.
Additionally, the blinds won’t slam against the door or get tangled as your family and friends go through the door.

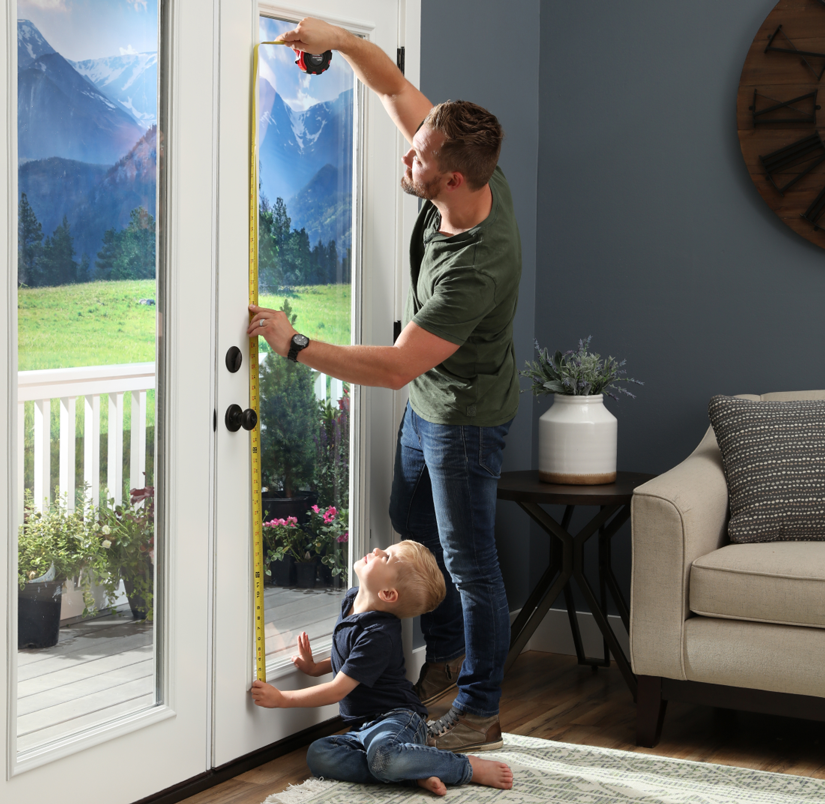
Find the Perfect Fit
Wondering how to select the right Add-on Blinds for your door? Click through three simple steps to find out!
How to Install ODL Add-On Blinds
ODL Add-On Blinds are designed to be installed quickly and easily over the doorglass in your existing exterior door. You'll need just a screwdriver to install the blinds unit on raised frame doors; if you're installing on flush frame doors, you'll need a screwdriver and a drill.
Step-by-step overview:

1. Loosen corner screws on the existing door frame.

2. Install provided spacers and top brackets and tighten screws.

3. Hang the unit on the top brackets.

4. Lock the unit's two side clips.
For complete installation instructions, watch this video or download the applicable documents below.
Raised frame doorglass
- English & Spanish
(1.7 MB) Adobe PDF - French
(1.6 MB) Adobe PDF
Raised frame sidelight
- English & Spanish
(954 K) Adobe PDF - French
(839 K) Adobe PDF
Step-by-step overview:

1. Level bracket above the witness line of frame.

2. Drill pilot holes and screw the top bracket into the door.

3. Hang the unit on the top bracket.

4. Secure lower corners to the door using the unit's peel-off adhesive pads.
For complete installation instructions, watch this video or download the applicable documents below.
Flush frame doorglass
- English & Spanish
(1.8 MB) Adobe PDF - French
(1.6 MB) Adobe PDF
Learn More About Add-On Blinds
Add-On Blinds for Doors Brochure
Get ready for a low-maintenance, safer solution to privacy and light control. Download the brochure for step-by-step instructions on how to select your Add-On Blinds, including sizing information.
Frequently Asked Questions
Yes, Add-On Blinds are a great project for home DIYers. Most installations take less than an hour. All you need is a screwdriver or drill, and our helpful instruction videos and guides will walk you through the rest.
Find a retailer near you, or call ODL at 866.635.4968 for more information.
Clean the surface glass as you would a window, using a quality window cleaner. You may want to take the unit down once a year to clean the inside glass next to the blinds.
Before removing the Add-On Blinds unit, raise the blinds all the way to the top to avoid damaging the slats. Next, simply unlatch the side clips (pivot them outwards) to remove the unit. If you have a full-view unit, you may want to have a second person to assist.
Clean the glass using a quality window cleaner. The frame can be cleaned with a cloth and mild soap and water.
Confirm your door type (raised frame vs. flush frame) and review the installation instructions for your door type. Should you still have an issue, contact our customer service at 866.635.4968 for assistance.
The red tab or red screws are used to secure the blinds in the raised position during shipping and initial installation steps. Do not remove until you reach the step in the installation instructions when you are ready to hang the unit. The blinds will not function until the red tab or screws are removed.
If your door hardware is located close to your door glass frame, you may encounter interference with the fit of your Add-On Blinds unit. To avoid this interference, simply remove the filler strip located on the side of the Add-On Blind frame. This will allow the escutcheon plate of your door hardware to slip underneath the frame. If the tabs that hold the filler strip on the frame are in the way, simply clip them off with a pair of pliers.
If you have a lever door handle, there is a slight chance that the Add-On Blind unit may interfere with the turning of the handle. To adjust your handle to fit, you may need to change your handle so that it does not interfere with the frame, or purchase a lever door handle extender.
When choosing a new handle or an extender, keep in mind that the Add-On Blinds frame for raised frame doors is 1-1/2" thick, and the unit for flush frame doors is 1-3/16". Therefore, the clearance between the door and the lever handle needs to be as follows:
- For raised frames: at least 1-9/16"
- For flush frames: at least 1-1/4"
Interior condensation is caused by excess humidity in your home. ODL Add-On Blinds for Doors do not cause condensation, but can be a good indicator of humidity levels that are too high. Keep in mind that, in newly constructed homes, construction materials will release moisture through several heating and cooling cycles. Condensation does not indicate a defect in a door blind unit and will not damage your Add-On Blind unit.
If your door glass has interior condensation, you should be able to control it by reducing the humidity level in your home (by, for example, reducing or eliminating the use of humidifiers). Below is a quick guide to appropriate humidity levels:
You can also help limit the potential for condensation between your door glass and the Add-On Blind glass by removing the filler strips located on the sides of the Add-On Blind frame, which will increase the airflow between the unit and your door glass. Refer to the filler strip removal video for details.
| Maximum recommended humidity levels (based on inside home temperature of 70°F) |
|
| Outside temperature °F | Inside humidity |
| 20°F to 40°F | Not over 40% |
| 10°F to 20°F | Not over 30% |
| 0°F to 10°F | Not over 25% |
| -20°F to 0°F | Not over 20% |
| Below -20°F | Not over 15% |
ODL Add-On Blinds units feature privacy channels on each side of the frame that guide the blinds and block the light 'leaks' that are typical in traditional, unenclosed blinds. These channels guide the operation of the blinds up and down, and keep them in place when the door opens and closes.
Rarely, the blinds will slip out of the channel(s). Should this occur, remove the Add-On Blinds unit from the door. Once the Add-On Blinds unit is off the door, keep the unit vertical and use the tilt operator to adjust the pitch of the blinds until they slip back into the privacy channel(s).
Before reinstalling the unit onto the door, use the operator to fully raise the blinds. With the blinds completely raised, reinstall the Add-On Blinds unit.
Should the issue persist, contact ODL customer service at 866.635.4968 for additional assistance.
The controller should slide up and down smoothly, although raising the blinds may require some additional force. If the controller feels like it's stuck or if it becomes very hard to adjust, it is possible that the internal glide pads have fallen off. Contact our customer service team at 866.635.4968 for additional assistance.
ODL Add-On Blinds for Doors feature a 5-year warranty. Any claims should be submitted in writing via email or mailed to:
ODL, Inc.
Attn: Warranty Claims
215 East Roosevelt
Zeeland, MI 49464